How to Create a Bump Map in Maya?
Creating bump maps is essential for designers working in 3D modeling and texturing. In 3D software like Maya, bump maps add depth and detail to surfaces without modifying the underlying geometry. These maps simulate surface irregularities, such as wrinkles, pores, and fine textures, to make objects look more realistic without increasing the polygon count. In this article, we will walk through the process of creating a bump map in Maya, starting from the basic concept and moving through the steps of generating, applying, and fine-tuning bump maps.

Understanding Bump Maps
Bump maps are grayscale images that influence the way light interacts with a surface, creating the illusion of depth. They don't alter the actual geometry of a model, but instead, they trick the rendering engine into making surfaces appear to have more intricate details. The lighter areas of a bump map represent raised areas, while the darker areas indicate recessed parts of the surface. Bump maps are widely used in various industries, including game design, animated films, and architectural visualization.
The primary advantage of bump maps is their efficiency in adding texture detail without a performance cost. This is because bump maps rely on a single texture file to create complex surface effects. Additionally, bump mapping can be easily applied to objects without altering their base geometry, making it a quick and non-destructive method for enhancing realism.
Creating a Bump Map from Scratch
Creating a bump map from scratch involves designing or modifying a texture that will simulate the desired surface detail. Maya allows you to work with various types of images and software to generate bump maps. Here’s a step-by-step guide to creating your bump map:
1. Design the Texture
Start by designing a high-contrast texture image that will serve as your bump map. This texture should be created in grayscale, where white represents the highest point of the surface, black represents the lowest, and various shades of gray indicate varying depths.
You can create the bump map in software like Photoshop, GIMP, or any other image editing software that supports grayscale images. You might begin with an existing texture and manipulate it using filters to create a bump map, or you can start from scratch with tools like the brush tool or noise filters to generate realistic surface detail.
2. Using Normal Maps as an Alternative
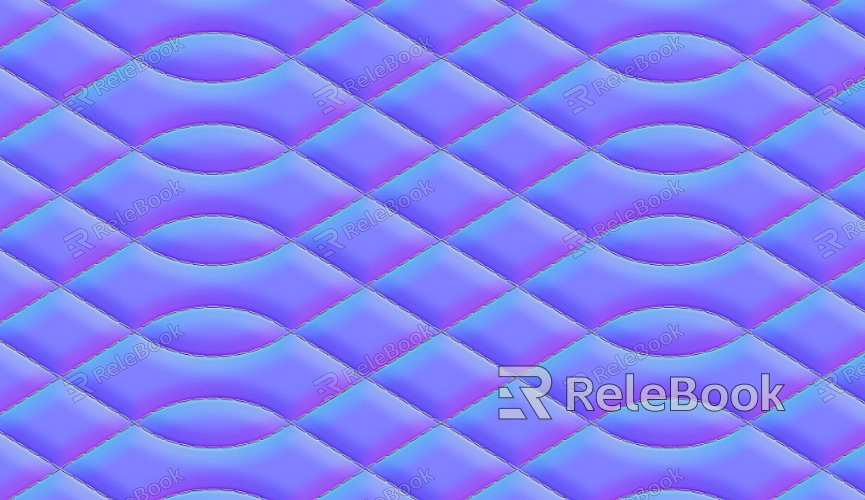
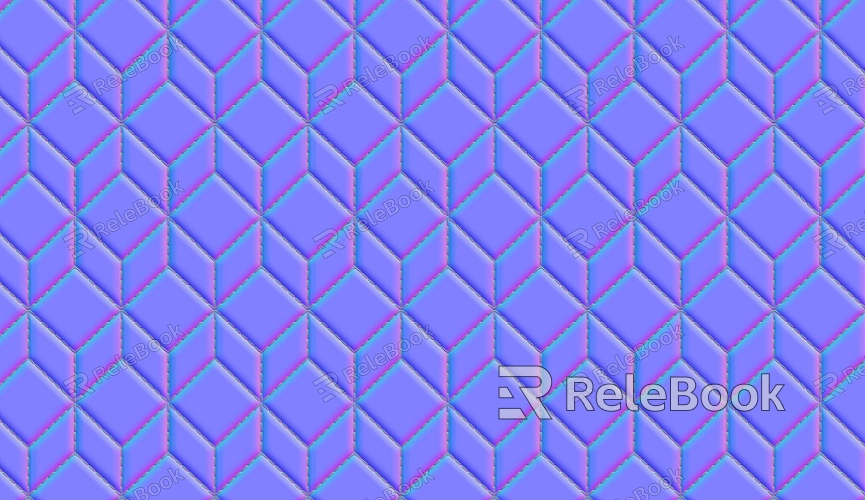
In addition to bump maps, normal maps are often used for a more realistic effect. While bump maps simulate surface detail by affecting lighting, normal maps encode surface normals and offer a more accurate representation of how light should interact with the surface. If you have access to normal map creation tools or if your software supports them, you might want to consider using them as an alternative to bump maps for more advanced texturing.

Importing and Applying the Bump Map in Maya
Once you’ve created the bump map, the next step is to apply it to your model in Maya. This involves importing the bump map into the program and linking it to the material or shader applied to your object.
1. Importing the Bump Map Texture
To import the bump map texture, first select the object in your scene. Then, go to the "Hypershade" editor, which is Maya’s node-based material editor. Create a new material or select an existing one to apply the bump map to. Once you’ve selected the material, open the "Attribute Editor" and locate the “Bump Mapping” section.
In the "Bump Mapping" field, click the checkerboard icon to open the file browser and load the bump map texture that you created. Once the texture is linked, you’ll notice that the bump map affects the surface's shading but doesn’t alter the actual geometry.
2. Adjusting Bump Map Settings
The intensity of the bump map effect can be adjusted in the "Bump Map" section within the material attributes. This allows you to fine-tune how strong or subtle the bump effect appears on the surface of your object. You can experiment with different intensity values to find the right balance for your model.
Fine-Tuning the Bump Map
Applying a bump map is not always a one-size-fits-all solution. In many cases, you will need to fine-tune the bump map settings to achieve the desired visual effect. Here are some common adjustments you might need to make:
1. Scaling the Bump Map
Sometimes, the bump effect may appear too exaggerated or too subtle. To address this, you can scale the bump map texture in the "UV Editor" or "File Texture" node to ensure that the texture fits the object’s surface properly. Scaling can help achieve the desired level of detail and improve the realism of the texture.
2. Adjusting the Depth
The depth of the bump map can also be adjusted. By modifying the bump depth, you can control how much light reacts to the surface, thus adjusting the perceived depth of the surface features. Experiment with different bump depths to see what works best for your object.
3. Refining the Texture
If the bump map isn’t achieving the desired effect, you may need to go back and refine the texture itself. Sometimes small tweaks to contrast, brightness, or the addition of more detail can help the bump map work better. Don’t hesitate to make iterative changes to the map until the final effect looks realistic.
Using Bump Maps in Complex Shaders
In complex shading setups, bump maps can be combined with other textures and shaders to create more detailed and nuanced surface effects. For example, you might use a bump map in combination with a specular map to control the way light reflects off a surface based on its roughness or smoothness.
Maya allows you to create layered shaders, meaning you can combine bump maps with other types of maps, such as displacement maps, normal maps, or specular maps, to achieve more realistic materials. You can use the "Layered Shader" node in the Hypershade editor to stack multiple textures on top of each other and control their interactions.
Best Practices for Bump Maps in Maya
To achieve the best results when working with bump maps in Maya, keep the following best practices in mind:
1. Keep Texture Resolution High
Ensure your bump map texture is of high resolution to avoid visible pixelation. A low-resolution texture can lead to blurry or uneven bump effects, which can detract from the realism of the scene.
2. Maintain Consistency
When creating bump maps for a scene, make sure that the style, resolution, and intensity of the bump maps are consistent across objects. This ensures that all surfaces in the scene similarly respond to light, enhancing the overall coherence of the lighting and shading.
3. Use Real-World References
For realistic bump mapping, use real-world textures and reference images whenever possible. Photographic references can help you design bump maps that accurately mimic natural surface detail, such as wood grain, stone, or fabric.
Creating and applying bump maps in Maya is a powerful technique for adding detail and realism to your 3D models without compromising performance. By understanding how bump maps work and following the process outlined in this article, you can effectively enhance your textures and achieve more realistic surface details. Whether you are working on a complex environment or a simple model, bump maps will elevate the overall quality of your 3D work.
If you're looking for high-quality 3D models and textures to take your projects to the next level, be sure to explore the Relebook website for a wide selection of downloadable assets.
FAQ
Can I create bump maps from photographs?
Yes, you can create bump maps from photographs. Using photos as a base can often provide excellent reference material for creating realistic bump maps. Simply convert your photo into grayscale and adjust the contrast to highlight surface detail.
What’s the difference between bump maps and normal maps?
Bump maps simulate surface detail by altering the way light interacts with the surface, whereas normal maps encode the actual surface normals to provide more detailed shading effects. Normal maps typically offer more accurate results but are more complex to create.
How do I improve the appearance of a bump map in Maya?
To improve the appearance of a bump map in Maya, adjust the bump map’s intensity and fine-tune the texture’s resolution and contrast. You may also need to experiment with the object’s UV mapping or the surface’s shading settings to get the most realistic results.
Do bump maps affect the geometry of the object?
No, bump maps do not alter the actual geometry of an object. They only affect how light interacts with the surface, giving the illusion of depth and detail without modifying the object’s mesh.

